
Log into your cloud control panel and click the “Instances” tab.
From here Press the “Launch Instance” Button

Details

- Availability Zone is the database location. Currently only our Dallas location is available.
- Instance Name allows you to name your VM.
- Flavor lists preset VM sizes you can chose from. Flavor details are listed to the right.
- Instance Count allows you to specify how many of this VM you would like created.
- Instance Boot Source provides a list of operating systems that can be installed along with Bitnami pre-configured operating systems as well as VM snapshots.
- Boot from snapshot allows you to create a VM mirrored from a premade snapshot of yours.
- Boot from Volume allows you to customize your bootable storage type and size by using Volumes. For more information on Volumes see this knowledge base article: http://support.limestonenetworks.com/knowledge-base/cloud-volumes/
Access and Security

- Key Pair You will need to select a key pair upon VM creation for the server to be accessible. http://support.limestonenetworks.com/knowledge-base/cloud-key-pairs/
- Security Group allows you to configure access to the VM and is necessary for VM use. Security groups can be added or changed at any time. http://support.limestonenetworks.com/knowledge-base/creating-security-groups-for-cloud-vms/
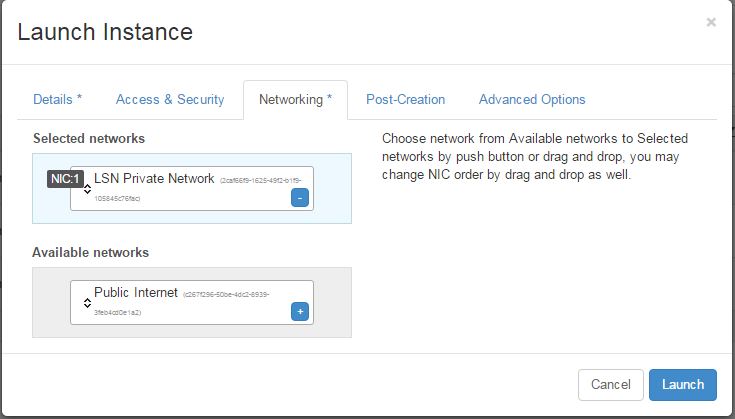
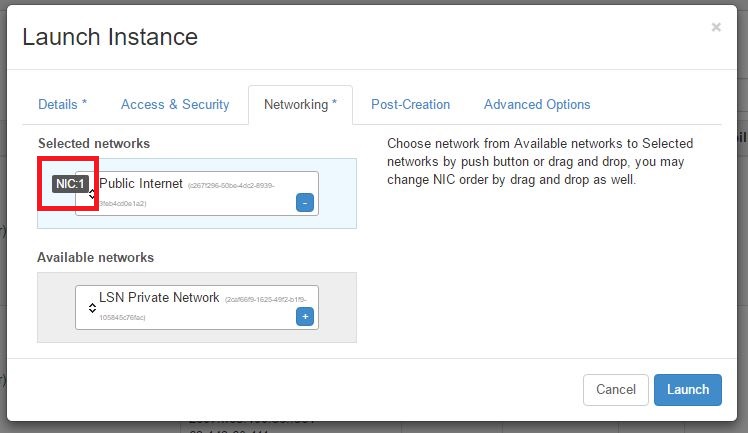
Networking

VMs can be configured with a public and private network.
Public network allows the server to be accessed from the internet.
Private network allows the server to be connected to from another VM over the same network.
IMPORTANT! If you add a Public Network it MUST be set as NIC1 to be accessible from the internet.
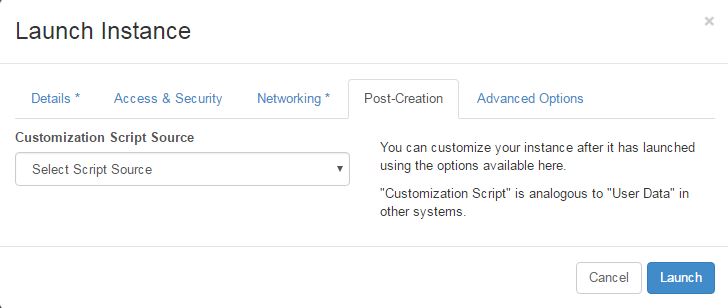
Post Creation

From here you can add script or a set of commands to be run on the server after creation.
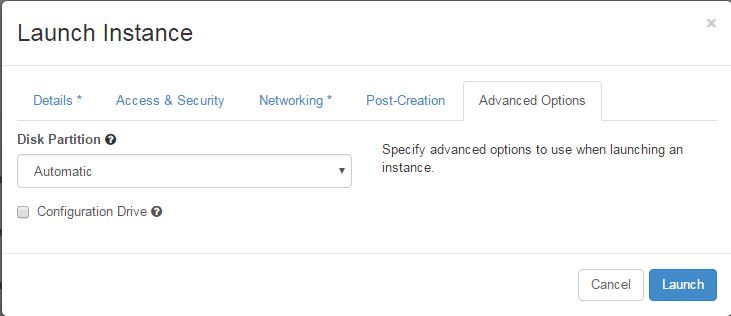
Advanced Options

Disk Partition From you can choose to either have the disk partitioned automatically or manually.
Finish
Once you’ve configured the VM to your preference press the “Launch button” and the VM will be created.